Last updated November 22, 2026
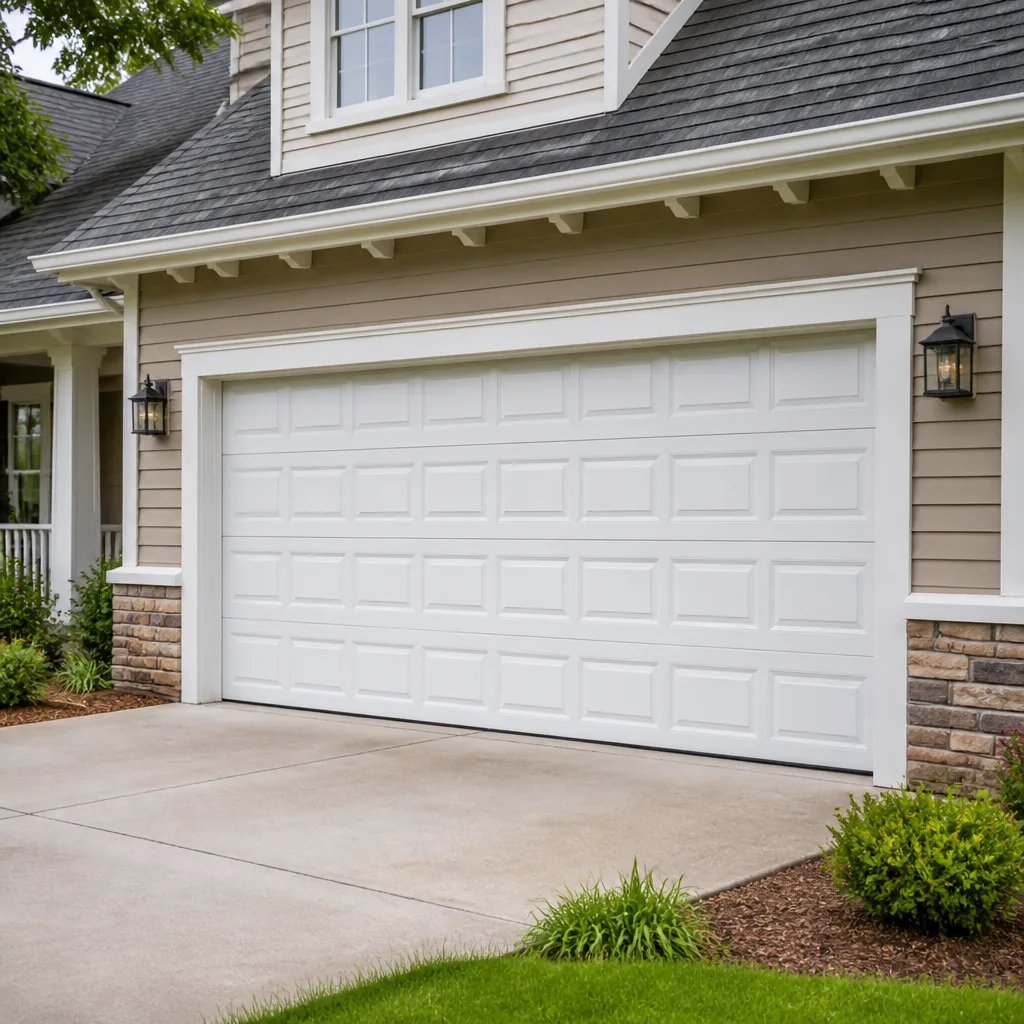 Raised-panel steel
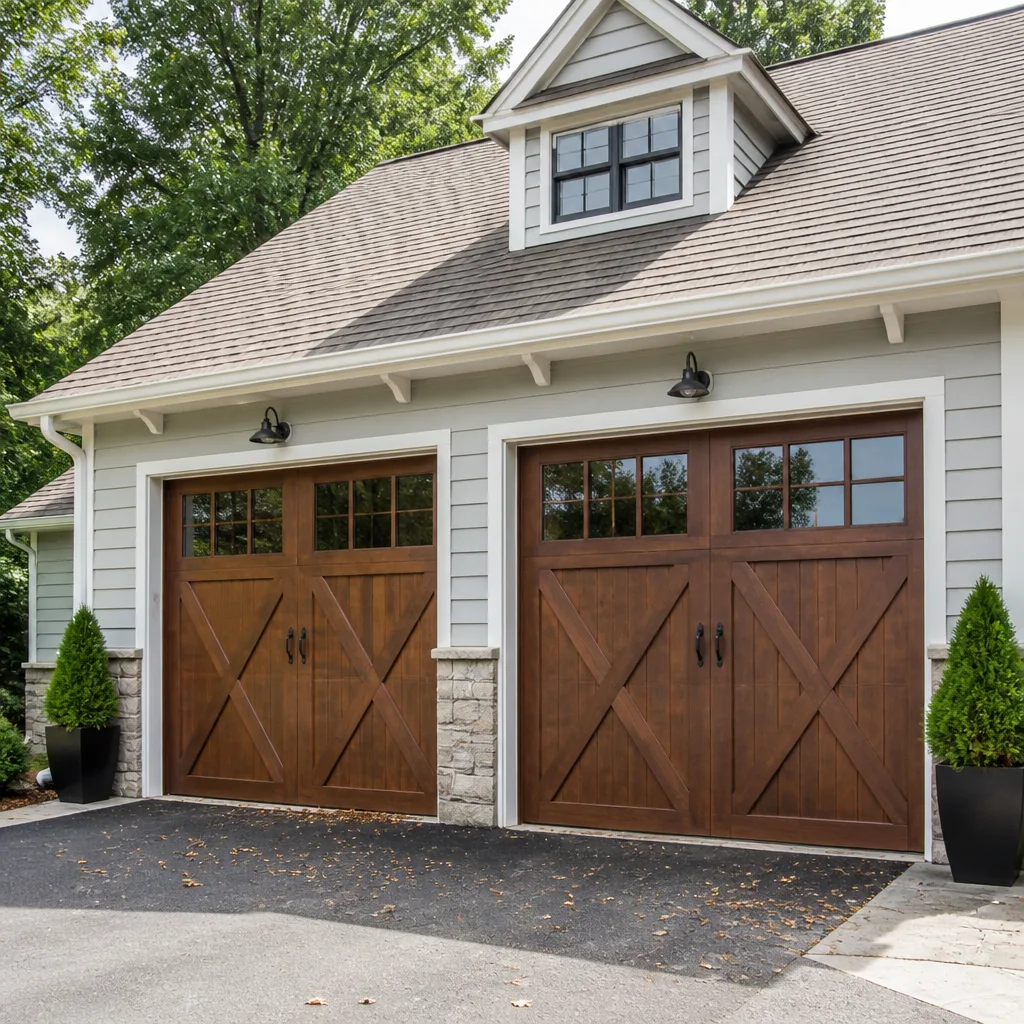 Carriage house
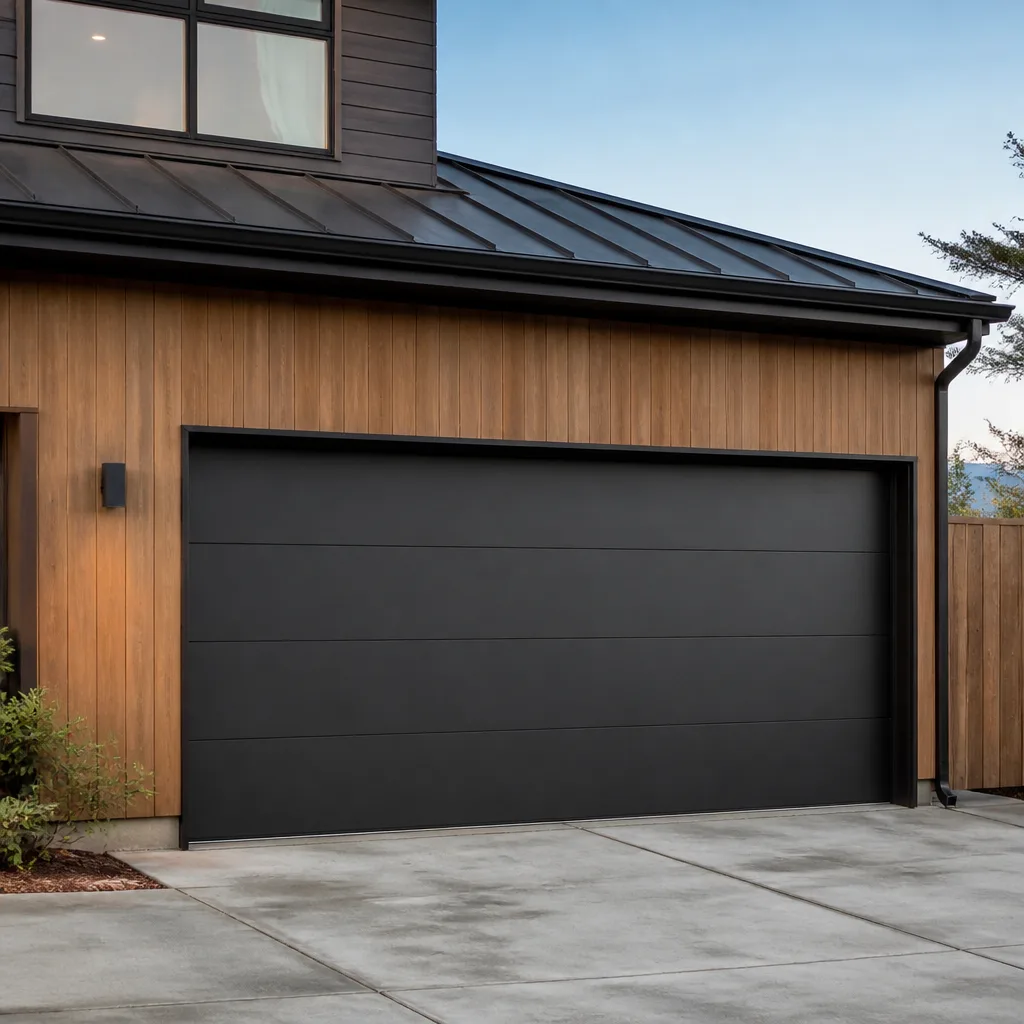 Modern flush
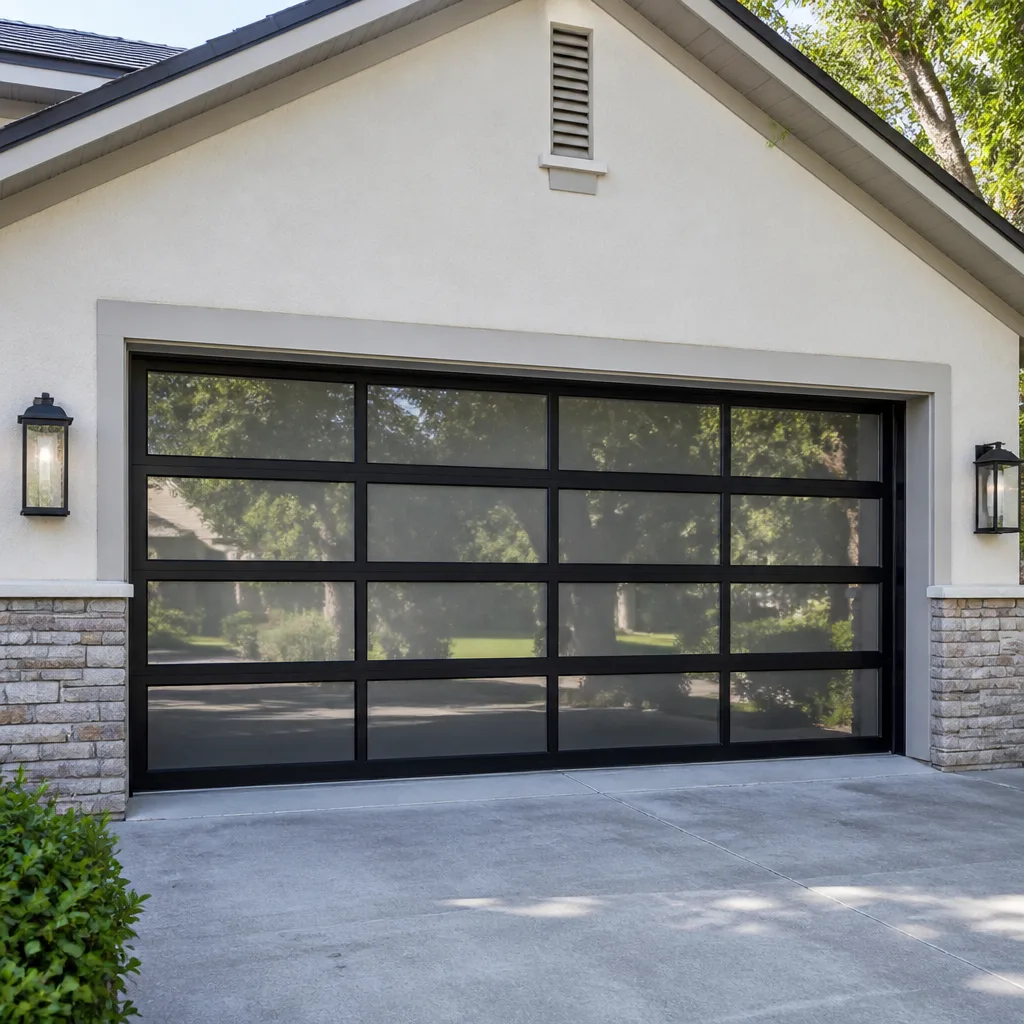 Full-view glass
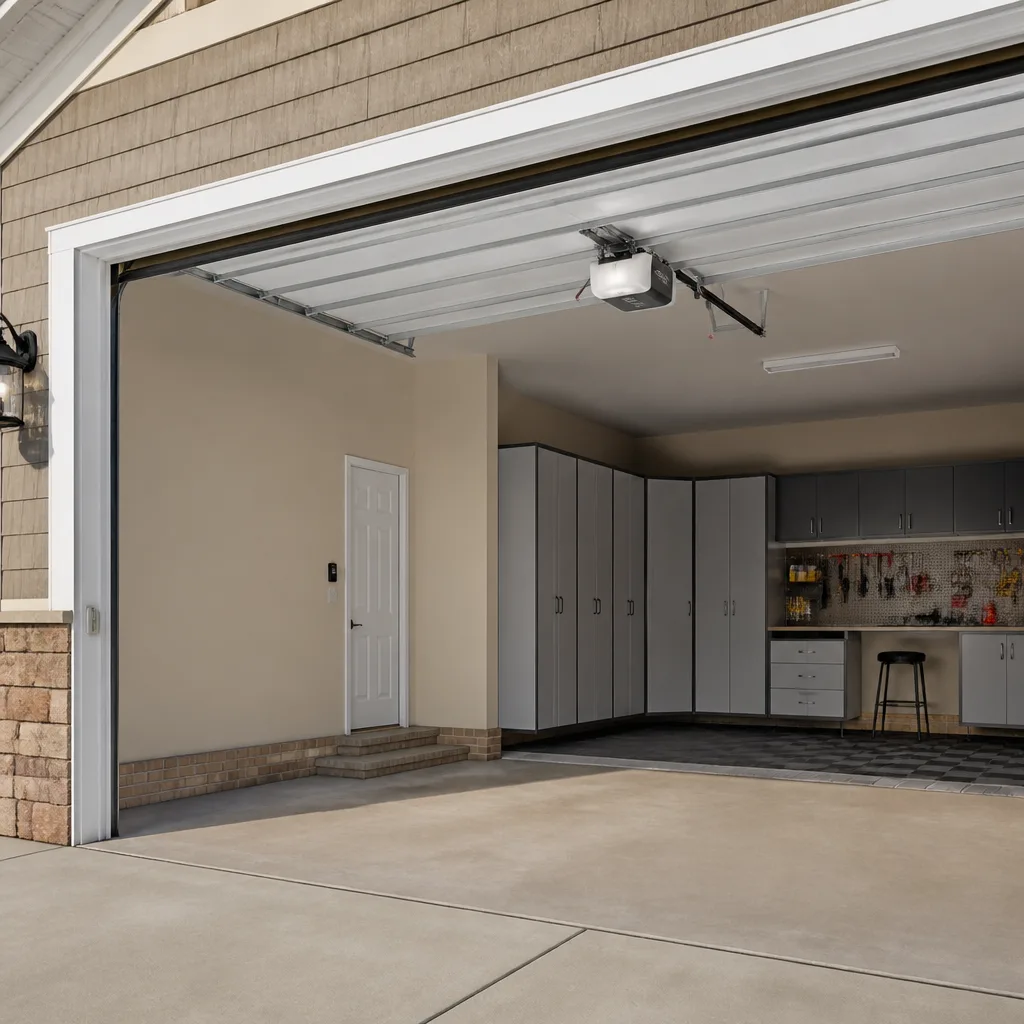 LiftMaster openers
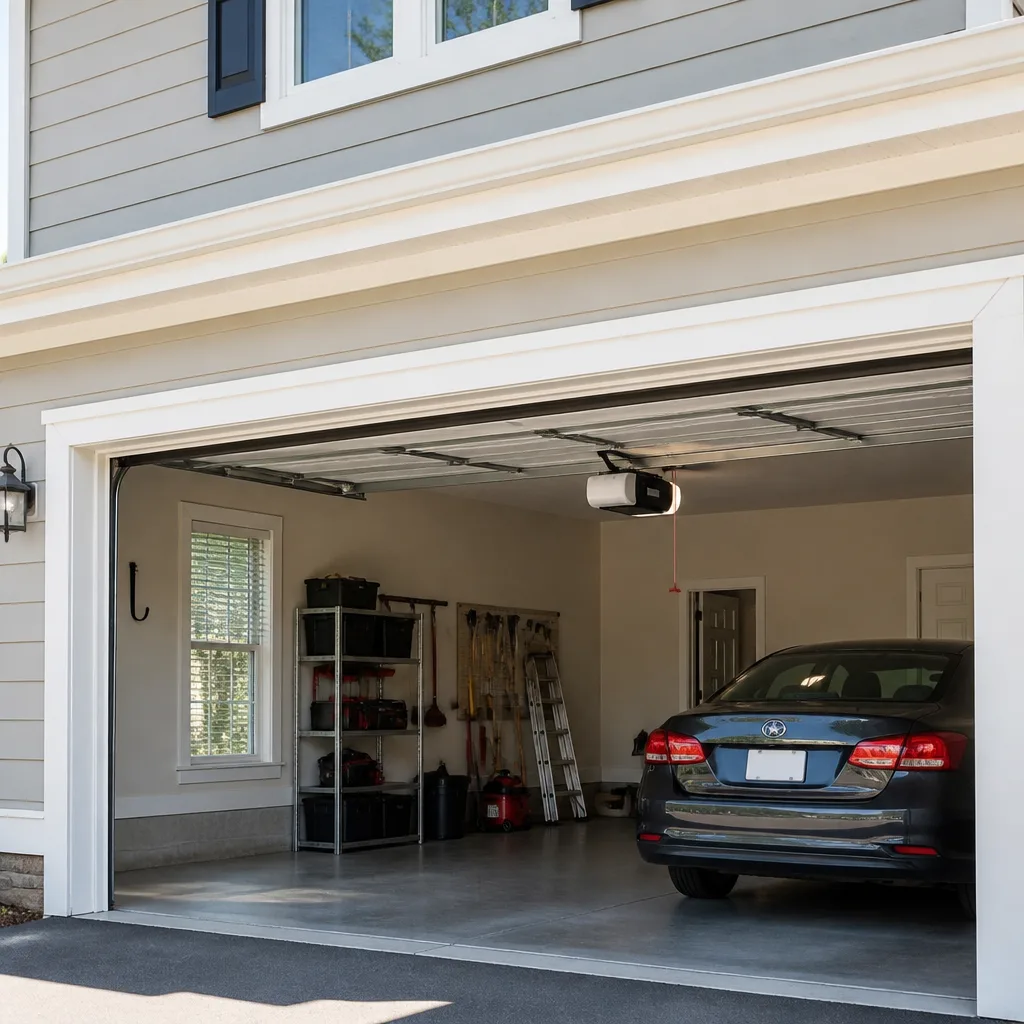 Chamberlain openers
Full 25-point door and opener safety check with every visit - springs, cables, rollers, tracks, and your LiftMaster or Chamberlain opener included
You get a price before we start. It does not change when the pro arrives.
Get your free estimateGarage Door Repair Maintenance Checklist for Chesterfield Homeowners
Most homeowners think a garage door fails without warning. In our experience, that’s rarely true. Nine out of ten broken springs we replace in Chesterfield showed visible warning signs at least two months before failure – signs any homeowner could have spotted with a five-minute check they never knew to do. The problem isn’t that doors give no notice. It’s that nobody told you where to look or in what order.
That’s what this checklist fixes. It’s sequenced the way a technician actually walks a door, one zone at a time, so you can do a single pass through the garage and come out knowing exactly what’s healthy, what needs watching, and what needs a call today. You’ll learn the tolerances that matter, the lubrication map most guides get wrong, and how to run the safety test that tells you whether your opener would stop for a child.
This guide is written for Chesterfield homes and the specific wear our winters and summers put on a door. Work through it once, then repeat it twice a year and you’ll catch the expensive failures while they’re still cheap ones.
Styles & brands we work with
- Raised-panel steel
- Carriage house
- Modern flush
- Full-view glass
- LiftMaster openers
- Chamberlain openers
Quick Answer
A garage door maintenance checklist should walk the door in the order a technician does: springs first, then cables, rollers, tracks, bottom seal, and finally the opener’s force and auto-reverse settings. Check every zone twice a year – once before winter and once in spring – and call a professional immediately for broken springs, frayed cables, bent tracks, or a door that fails the auto-reverse test. Everything else on the list is monitoring you can do yourself.
Table of Contents
- How to Use This Checklist
- Zone 1: Springs – The First Thing to Check
- Zone 2: Cables and Drums
- Zone 3: Rollers and Hinges
- Zone 4: Tracks and Alignment
- Zone 5: Bottom Seal and Weatherstripping
- Zone 6: Opener Force and Auto-Reverse Test
- The Lubrication Map
- Pro Today or Monitor for 60 Days?
- Common Mistakes to Avoid
- When to Call a Professional
- Frequently Asked Questions
- The Bottom Line
How to Use This Checklist
A maintenance checklist is only useful if it’s sequenced the way a technician actually works. Alphabetical order or grouping by component category forces you to jump around the garage four times, and you’ll skip things. This one is built for a single pass: you start at the springs overhead, work down the sides through the cables, rollers, and tracks, finish at the bottom seal, and end at the opener on the ceiling. One walk, one direction, nothing missed.
Set aside twenty minutes the first time. After that it’s a ten-minute habit you repeat twice a year. In Chesterfield, the two checks that matter most come in late fall, before the first hard freeze, and in early spring, when the door has spent months cycling in cold that stiffens grease and shrinks seals. If you have a door that faces the afternoon sun, add a mid-summer look at the seal and the paint.
You’ll need a flashlight, a stepladder, and a rag. Nothing else. Do the visual pass first, hands off, then go back and do the touch checks. Wear work gloves if you have them – the bottom of a track and the edges of a hinge carry grit and burrs.
One rule before you start: look at the door, don’t work on it. The springs and cables are under real tension and we’ll cover exactly why below. Everything in this checklist is a check, not a repair. If a finding points to a fix, that’s the point where a trained professional takes over.
Zone 1: Springs – The First Thing to Check
Springs come first because they tell you the most about the door’s health and because a failing spring is the failure that takes the whole door out of service. There are two kinds on a residential door. Torsion springs sit horizontally on a shaft above the door. Extension springs run along the horizontal tracks on either side. Know which you have before you inspect – it changes where you look.
Start by looking, not touching. On torsion springs, check the coil for a visible gap. A broken torsion spring shows as a clean separation, usually with a two-inch gap in the coil. On extension springs, check whether the coils are tight and even or stretched apart at one end. Look at the safety cables that run through the middle of extension springs – if there’s no cable through the spring, that’s a finding worth a call, because it’s a basic safety item.
What a healthy spring looks like
- Even coil spacing with no gaps or separation
- No rust streaks or heavy corrosion along the coil
- Paint intact, no visible cracks in the coating
- For extension springs, a steel safety cable running through the center
- No orange dust or metal flakes on the shaft or the tracks below
Orange dust under a torsion spring is worth knowing about: it’s often rust shedding off a spring that’s losing tension. It doesn’t confirm a problem on its own, but combined with a door that feels heavy when you lift it by hand (with the opener disconnected), it’s a signal to get the spring looked at.
Safety note: Never try to adjust, tighten, or replace a spring yourself. Torsion springs are wound to a specific tension and hold stored energy that can cause serious injury in an instant if a winding bar slips. Extension springs can release violently if they break without a safety cable. Our garage door spring repair service exists precisely because this is the one part of a garage door that carries real risk, and it’s the highest-risk, most technically demanding job on the whole door. When in doubt, step back and call.
Zone 2: Cables and Drums
Cables transfer the spring’s force to the door. On a torsion system they run from drums at the ends of the spring shaft down each side to the bottom bracket. On an extension system they run along the horizontal track. Either way, your job here is to look for wear and one specific failure mode.
Run your eye down each cable from top to bottom. What you want to see is a cable that’s straight, taut, and made of intact strands. What you don’t want to see is fraying, bird-caging (where individual strands separate and loop outward), kinks, or rust spots. A cable that’s beginning to fail usually shows broken strands near the drum or at the bottom bracket where it bends the tightest.
The one test to do here
- Standing safely out of the door’s path, look at where each cable meets the bottom bracket.
- Check that both cables carry even tension – the door should not look like it’s sagging on one side.
- Look for a cable that’s jumped off its drum at the top (you’ll see slack cable wrapped unevenly or a drum with bare grooves).
- Do not touch, tug, or attempt to re-seat a cable under tension.
A cable that has jumped a drum or snapped is an emergency – the door is now supported by one side and can twist or drop. This is exactly the situation our emergency response is built for. If you find that, stop the checklist, keep everyone and everything clear of the door, and call. A frayed-but-intact cable gets watched closely and scheduled for replacement. Frayed means it’s on its way out, and cables don’t heal.
Zone 3: Rollers and Hinges
Rollers are the small wheels that ride inside the tracks. Hinges are the plates that join door panels. Both are wear items, both are cheap, and both get ignored until they squeal or fail. This zone is mostly touch-and-listen.
Grab each roller (door down, opener disconnected if you’re comfortable doing it) and rock it gently side to side in its hinge. Some movement is normal. The tolerance that matters is the roller’s shaft: if the shaft wobbles more than roughly a sixteenth of an inch in the hinge, or if a roller spins freely and looks dry and gray instead of rolling with a little resistance, it’s worn. Plastic rollers go gray and brittle; nylon rollers last longer but crack. Steel rollers can flat-spot.
Roller and hinge findings by condition
- Rolls quietly, minor side play: healthy, leave it.
- Wobbles noticeably but still rolls: worn, add to the 60-day monitor list.
- Doesn’t turn, or is cracked or flat-spotted: replace the set soon.
- Hinge plate cracked or screw holes stripped: replace the hinge.
- Hinge squeals or grinds: usually a lube issue, not a replacement.
Rollers generally wear as a set. Replacing one heavily worn roller beside seven old ones just moves the problem. If several are bad, plan on doing all of them. On a Clopay or Amarr door the hinge pattern matters – a technician matches replacement rollers and hinges to the specific door, not to whatever fits.
Listen, too. A door that rattles like a box of bolts as it goes up is telling you something in the roller-and-hinge chain is loose. That’s a monitor-and-lube finding, not usually an emergency.
Zone 4: Tracks and Alignment
Tracks are the rails the door rides on, and they only work if they’re straight and parallel. You’re checking two things: whether the door is running true, and whether the tracks are clear or damaged.
Watch the door as it opens and closes. A door that moves smoothly and stays centered is tracking well. A door that shimmies, drags on one side, or looks like it’s leaning toward one track has an alignment problem. Don’t force a misaligned door to cycle – running a crooked door grinds the rollers and can bend the track further.
The track check, step by step
- With the door down, look up each vertical track from the floor. Both should be plumb. A bowed or dented track shows even against the door’s edge.
- Look at the horizontal tracks overhead. They should be level and parallel to each other. A track that dips where a bracket loosened is a common finding.
- Check for loose bolts where tracks attach to their brackets. Finger-tight is not a real check – if a bolt wobbles, it’s backing out.
- Wipe the inside of each track clean of dirt, leaves, and grit. Never grease a track; grease traps grit and turns the track into a grinding surface. A little silicone spray on a rag is the right move.
- Look for bent track where something struck it. A dent that lets a roller jump the rail is a pro fix, because the door can come out of the track.
Bent or badly out-of-alignment tracks fall on the “call a pro today” side of the list. If the door has ever been hit by a car or a bicycle, or you’ve seen it come off the track once, the tracks need a professional look before it happens again – a door off its track is a genuine safety incident.
Zone 5: Bottom Seal and Weatherstripping
The bottom seal is the rubber strip under the lowest panel. It does two jobs: keeps weather out and cushions the close. In Chesterfield it’s the part of the door that takes the hardest hit from our winters – repeated freeze-and-thaw at the door’s base plus cold that hardens the rubber and makes it crack and flatten. It’s also the part homeowners look at least.
Look at the seal where it meets the concrete. A healthy seal flattens against the floor with no light coming through, all the way across. The key number here is gap size. A gap of about a quarter inch or more at any point – daylight you can clearly see, or a slot where you can slide a finger – is a real finding. Smaller than that at one spot is usually a pad that’s dropped, and it’s minor. Anything you can see through across more than a few inches means weather and, in some cases, pests are getting in.
What to check on the seal
- Visible cracks, tears, or chunks missing from the rubber
- Seal flattened paper-thin against the slab
- Daylight or a clear gap under any section
- Seal pulling out of the aluminum retainer that holds it
- The concrete itself: a low spot or cracked pad where the seal can’t reach
Weatherstripping around the sides and top of the door is the companion check. Look for flattened, brittle, or missing strips. When it’s cured and cracked, that’s normal aging; cold snaps finish them off faster here than in warmer parts of the country. What matters for Missouri winters is whether the seal actually closes the door to the outside, because a gap lets cold air and snowmelt in and can let heat out.
Replacing a bottom seal is a genuine do-it-yourself job for many homeowners, and we’ll say so plainly. If the retainer is intact and you can slide a new seal into it, you don’t need us. If the retainer is bent, the bottom panel is damaged, or the door doesn’t close evenly because the seal can’t reach a low spot, that’s a pro visit.
Zone 6: Opener Force and Auto-Reverse Test
This is the zone most homeowners skip, and it’s the most important one for safety. The opener’s auto-reverse is the feature that reverses the door if it meets resistance – a pet, a child, a bicycle. It needs to actually work, and it needs testing twice a year. Every opener we work on, whether a LiftMaster, a Craftsman, or a Genie, has this test procedure in its manual, and it’s the same basic test.
How to run the auto-reverse safety test
- With the door open and clear, place a solid object about the height of a 2×4 flat on the floor where the door will meet it. Or hold your hands lightly under the door’s path while it’s closing, ready to pull back – but a 2×4 is safer.
- Press the close button.
- The door should stop and reverse when it contacts the object or your hands, not strain against it.
- If the door keeps pushing or stops without reversing, the opener fails the test. That’s a call-a-pro-today finding.
- Repeat with the door near the floor, because a door that reverses at chest height but not near the floor is still unsafe.
The other half of the opener check is the force setting. If your opener strains to lift the door, or the door bounces or stops short on the way up, the force limit may be set too high or the door may have gotten heavier than it used to be (usually a spring losing tension). Don’t turn the force adjustment up to force a heavier door to move – that defeats the safety limit. The right move is to find out why the door is laboring.
Photosensor eyes are the other part of this zone. Look at the two small lenses near the floor on each side of the door. The indicator light should be solid, not flickering, when the beam is clear. Wipe them clean with the rag; a dirty lens is the most common false alarm. If the door reverses for no reason, misaligned sensors are usually the cause – a straightforward fix, and you’ll want it fixed before the door does it at the wrong moment.
Openers, like doors, are brand-specific. A LiftMaster with a battery-backup and a Wayne Dalton door are two different systems, and reading the symptoms correctly means knowing the unit. If your opener is acting up and you’re not sure which check applies, our garage door opener repair service is built to diagnose the actual system rather than guess.
The Lubrication Map
Nearly every “lubricate your garage door” instruction online is wrong in the same way: it says to lube everything, and it names the wrong product for half of it. The right map is specific. Use it twice a year, and never mix a heavy grease onto a part that needs a light film.
| Component | Lubricant | How to apply |
|---|---|---|
| Springs (coil surface) | Lithium grease or a spring-specific spray | Light coat, or a spring spray designed for coil springs |
| Hinges | Lithium grease | Small dab on each hinge pivot pin |
| Rollers | Silicone spray | Light spray on the roller and its shaft, skip the wheels themselves if nylon |
| Bearings and torsion shaft | Lithium grease | Small amount on the ends where the shaft turns |
| Track interior | Silicone spray on a rag | Wipe, never spray directly into the track |
| Weatherstripping and seals | Silicone spray | Light coat to keep rubber pliable |
| Opener drive – screw | Screw-drive-specific grease | Follow the opener’s manual |
| Opener drive – chain | Chain lube or lithium grease | Light film, no heavy drip |
| Opener drive – belt | Nothing | Do not lubricate a belt drive |
Never lubricate: the tracks with grease (grit traps and grinds), the rubber bottom seal with oil-based products (it degrades rubber), or a belt-drive opener (lubricant attracts dust and can damage the belt). Grease on the wrong surface is worse than none.
What the lubrication map does for a Chesterfield door specifically: cold weather thickens grease. The light film you apply in late fall is the right amount for a Kansas City-area winter; a heavy coat turns gummy in January and starts dragging the door. We’ve seen many doors that were over-lubricated in fall and started laboring by mid-winter. Light and even beats heavy and generous every time.
Pro Today or Monitor for 60 Days?
The most useful thing a checklist gives you is a decision. Once you’ve walked the door, sort every finding into one of three bins. The distinction is not about how alarming it looks; it’s about what it costs you if it fails.
Call a professional today
- A broken spring (visible gap in the coil, or the door is dead heavy)
- A snapped, frayed-through, or jumped cable
- A door off its track, or a badly bent track
- A failed auto-reverse test or an opener that won’t respond
- A door that’s gotten dangerously heavy to lift
- An uneven door – one side sagging or a visible lean
These aren’t hypotheticals. A door supported by a single cable or one spring can drop or twist, and the auto-reverse failure is the one safety issue that can injure a person. When any of these turns up, the door stops being something you tinker with.
Monitor for 60 days
- A roller that wobbles but still rolls
- A minor gap under the bottom seal at one spot
- Weatherstripping that’s drying but not cracked through
- One hinge that’s grinding (lube it and recheck)
- An opener that sounds a little louder than it used to
- Minor cosmetic rust that isn’t against a moving part
Put these on a note, mark the date, and re-check in 60 days. Most either stay the same (fine) or get worse (now you know). The value of monitoring is that you catch a $200 roller-and-hinge job before it becomes a whole-door problem.
Nothing to do
Everything else. The point of the checklist is to confirm what’s healthy, not to manufacture work. If your door passes all six zones and the safety test, you’re done for the season. That’s a good result, and it’s the one we like to hear about – a door left alone is a door that’s healthy.
Common Mistakes to Avoid
- Greasing the tracks. It’s the single most common mistake we see. Grease on a track picks up grit and turns the rollers into grinding wheels. Keep the tracks clean and dry, and if you lube anything in them, use a silicone spray on a rag only.
- Turning up the opener force to compensate for a heavy door. The force setting is a safety limit, not a power knob. If the door needs more force, something is wrong – usually a spring – and raising the limit only hides the problem while removing your safety margin.
- Ignoring orange dust and treating a heavy lift as “just cold weather.” In our winters a door feels stiffer at first. But a door that’s meaningfully heavier by hand in December than it was in October is a spring losing tension, not the weather.
- Skipping the auto-reverse test because “it’s always worked.” Auto-reverse is the one feature that protects people, and it fails silently. Test it twice a year, every year, no exceptions.
- Replacing one bad roller beside seven old ones. Mixed rollers wear unevenly and the good ones absorb the load from the bad. If several are bad, do the set.
- DIY on spring or cable tension. This is the mistake with the highest stakes. Springs and cables are under stored energy. Adjusting, unwinding, or “tightening” either one is not a homeowner job, and we won’t describe how.
- Waiting for a scheduled check after a noise or a bang. A loud snap from the garage is usually a spring or a cable. When it happens, stop using the door – a struggling opener on a broken spring will fail or burn out – and have it looked at.
When to Call a Professional
Call a professional when a finding is on the “pro today” list above, and don’t run the door until it’s seen. The three situations that most warrant a call in Chesterfield are a broken spring (the door is now dead weight and dangerous to lift), a snapped or frayed cable (the door is hanging on one side), and a door that failed the auto-reverse test. If the opener is dead or the door is stuck partway, that’s an urgent situation too, and our emergency response is built for exactly that – a door that traps a car or leaves the house exposed. When your door won’t move, the right move is to call rather than to force it.
Chesterfield Garage Door Repair Pros offers free estimates in Chesterfield – call (833) 509-5341. The price is quoted and agreed before any work starts, and the written estimate sets the final price. Our technicians have up to 10 years of experience and work across the major door and opener brands by name, not by guesswork. If the finding is something you can handle yourself, we’ll tell you that too.
Frequently Asked Questions
Twice a year is the right rhythm: once in late fall before the first hard freeze and once in early spring. Chesterfield’s freeze-and-thaw cycle is hardest on the bottom seal and the grease in the moving parts, and checking before winter catches most of the cold-season failures while they’re still minor. A door that’s heavily used or more than a decade old benefits from a third check mid-summer.
Springs, before anything else – look at the coils, then check whether the door feels heavy when lifted by hand with the opener disconnected. Springs carry the door’s weight, so they tell you the most about overall health, and a broken spring is the failure that takes the door out of service. Never adjust or touch a spring beyond looking at it.
Yes, for the right parts. Lithium grease on hinges and bearings, silicone spray on rollers and weatherstripping, and a spring-appropriate spray on the coils is a safe do-it-yourself job. Never grease the tracks, never oil the rubber seals, and never lubricate a belt-drive opener. If you’re unsure which opener you have, check the manual before applying anything.
The main signs are a visible gap in a torsion spring coil, stretched and uneven coils on an extension spring, rusty or flaking coating, orange dust below the spring, and a door that suddenly feels much heavier to lift. Any of these means get it looked at. A spring that shows warning signs can fail in the next few weeks, and a broken spring is a pro repair, not a DIY one.
The most common cause is a misaligned or dirty photosensor, especially after a heavy snow or a wet freeze leaves moisture or road grit on the lens. Wipe both lenses and check that they’re facing each other squarely and the indicator light is solid. If the door still reverses, the auto-reverse setting or the opener logic needs a look – that’s a diagnostic call, not a guess.
It usually does, because it catches wear items while they’re still cheap. A wobbling roller or a cracking seal is a small job now and a much bigger one after it takes out a track or a panel. A five-minute check twice a year is the cheapest part of owning a garage door. If a finding turns out to be something we can repair, call (833) 509-5341 for a free estimate – and if it’s something you can handle, we’ll say so.
The Bottom Line
A maintenance checklist works because of how it’s ordered, not how long it is. Walk the door the way a technician does – springs, cables, rollers, tracks, seal, opener – and you’ll catch the failures that matter while they’re still small. Know the two or three tolerances that count: a quarter-inch gap under the seal, a roller shaft that wobbles more than a sixteenth of an inch, an auto-reverse that reverses at the floor. Sort every finding into pro-today or monitor-for-60-days, and leave the springs and cables to a trained professional. Do this twice a year in Chesterfield and your door will age better than most, and you’ll know before it breaks. If this checklist turns up something that needs attention, our garage door repair team can take it from here, and Chesterfield Garage Door Repair Pros is the place to start for a free estimate – call (833) 509-5341.
Written by the team at Chesterfield Garage Door Repair Pros.
See the difference
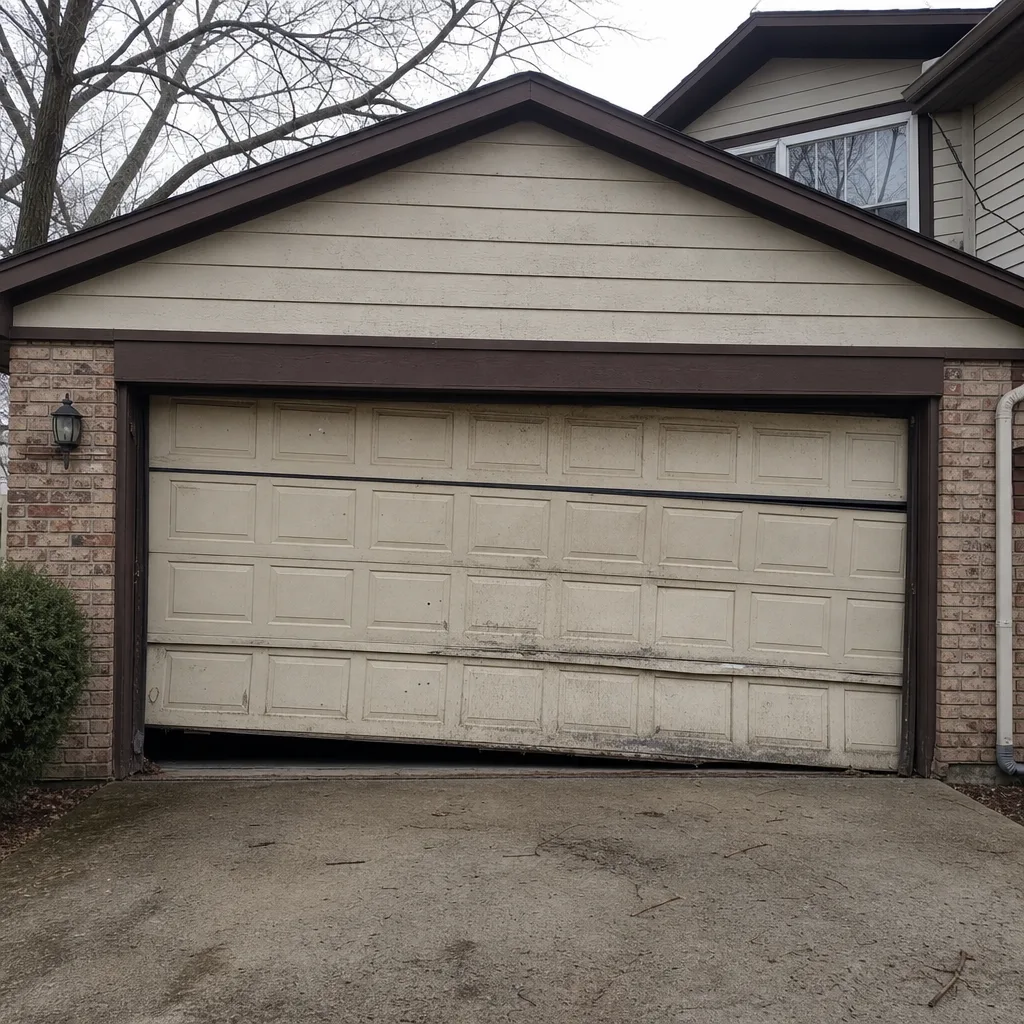 Before
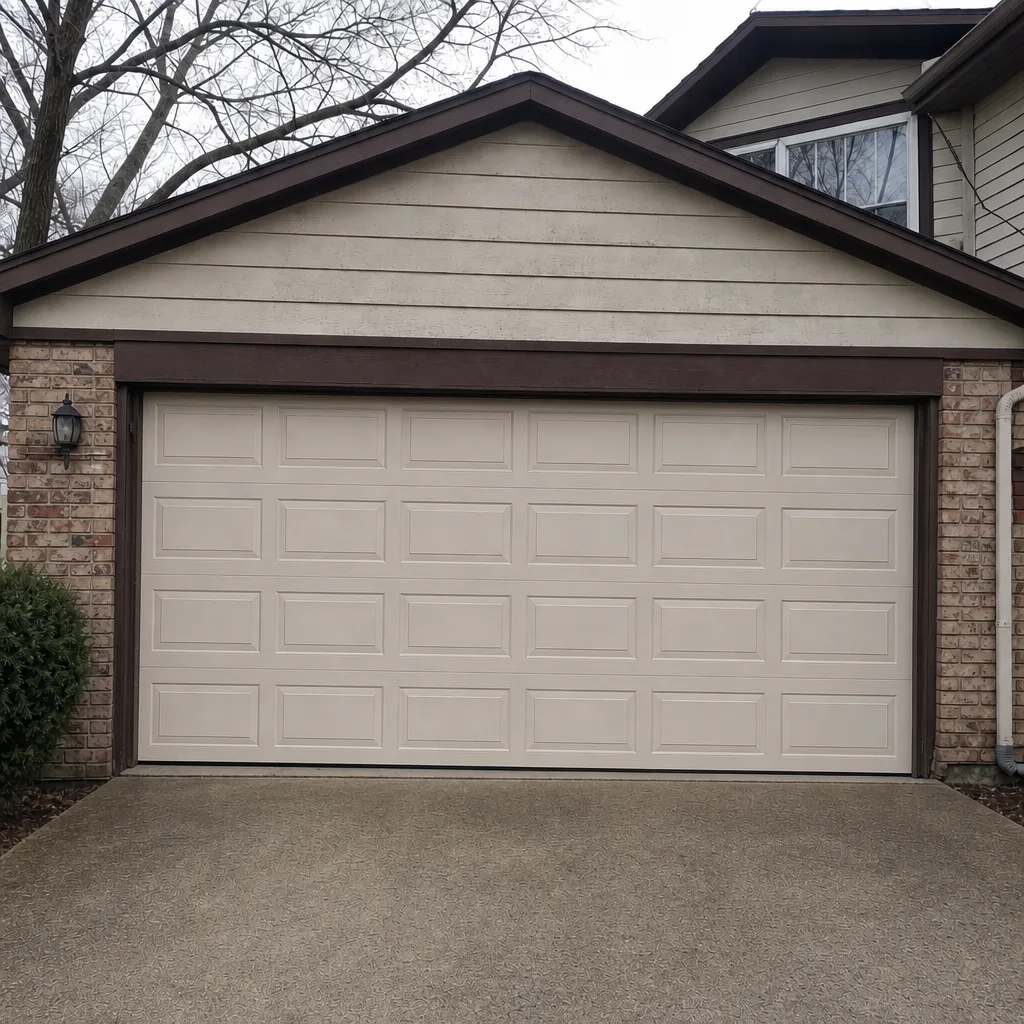 After
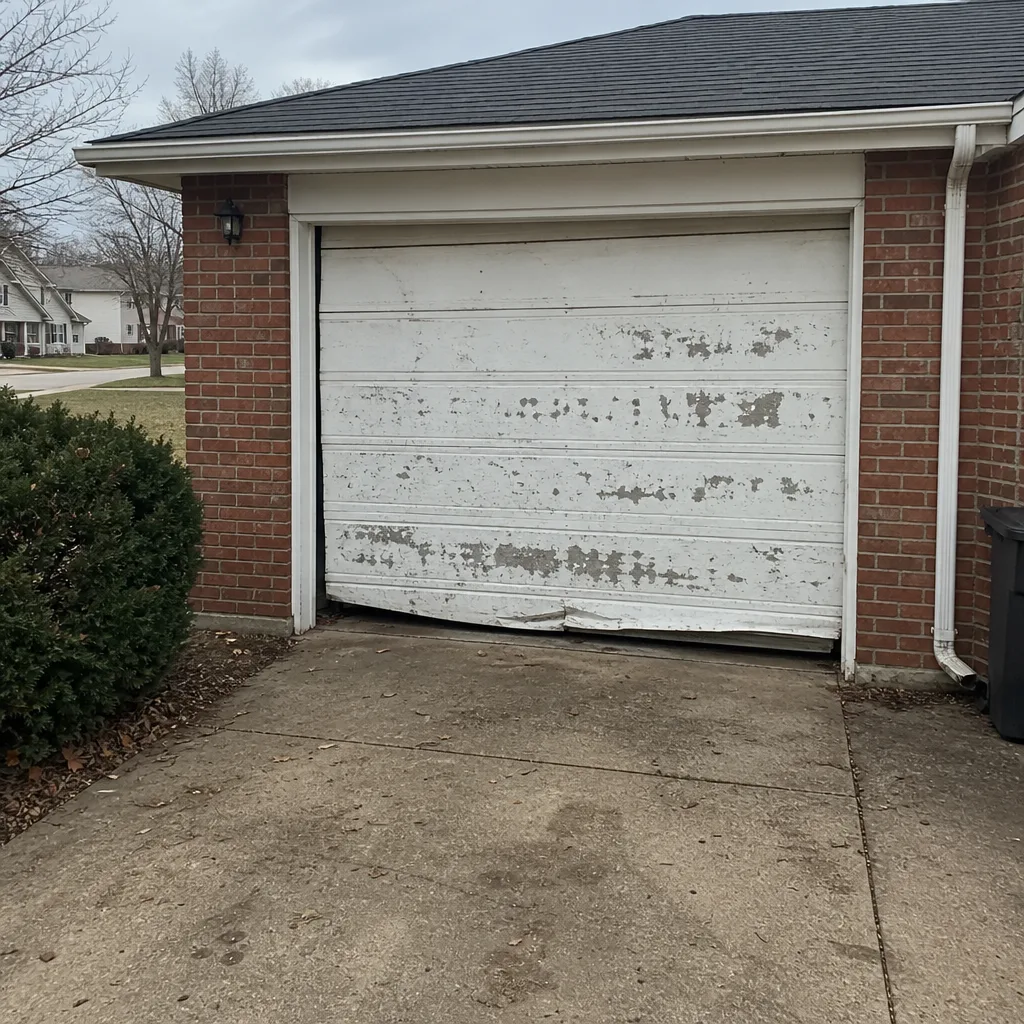 Before
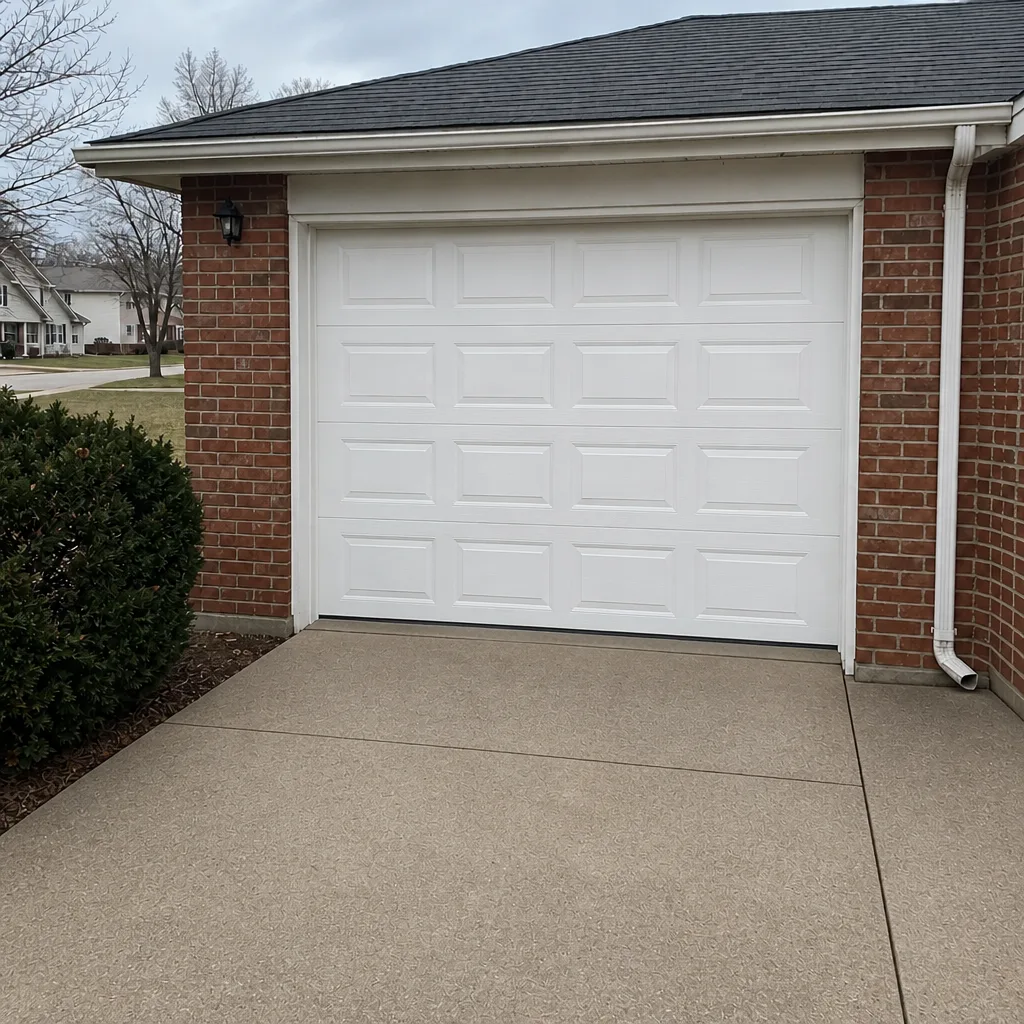 After
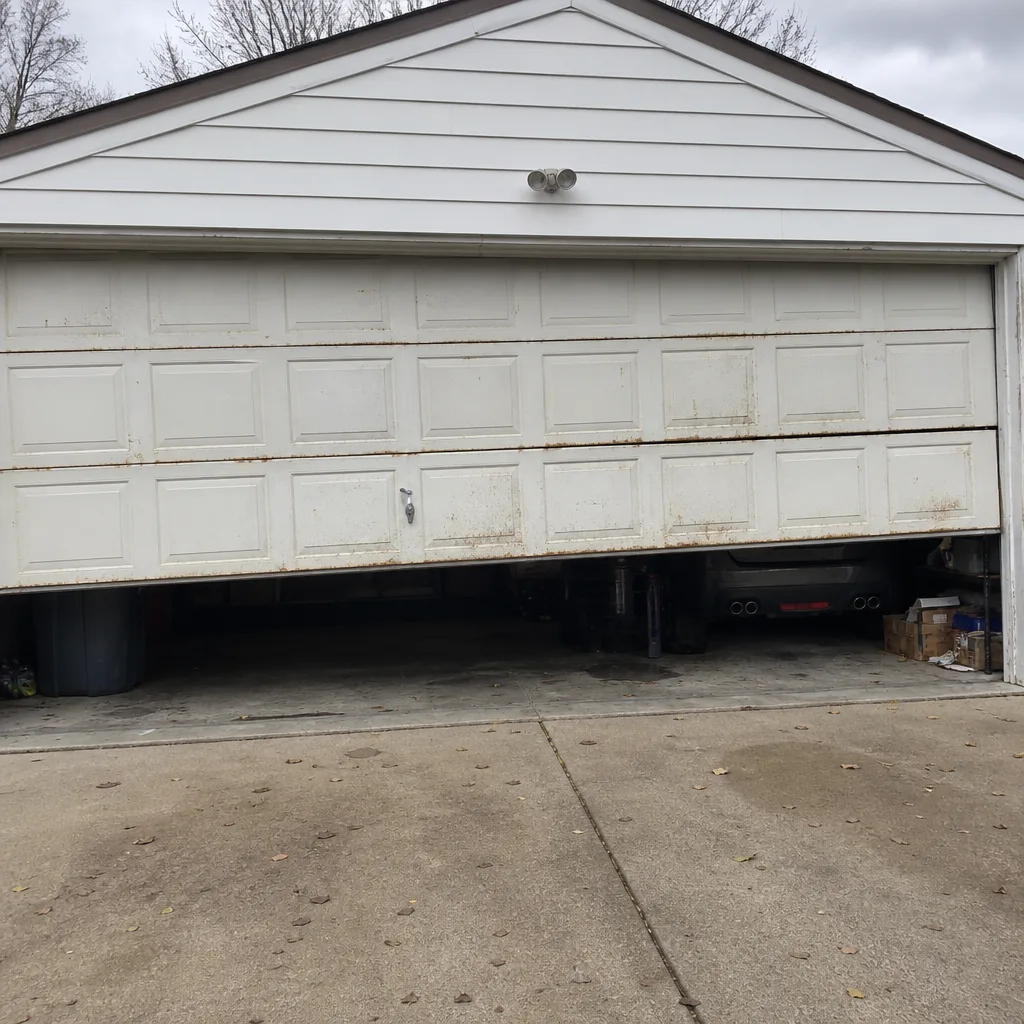 Before
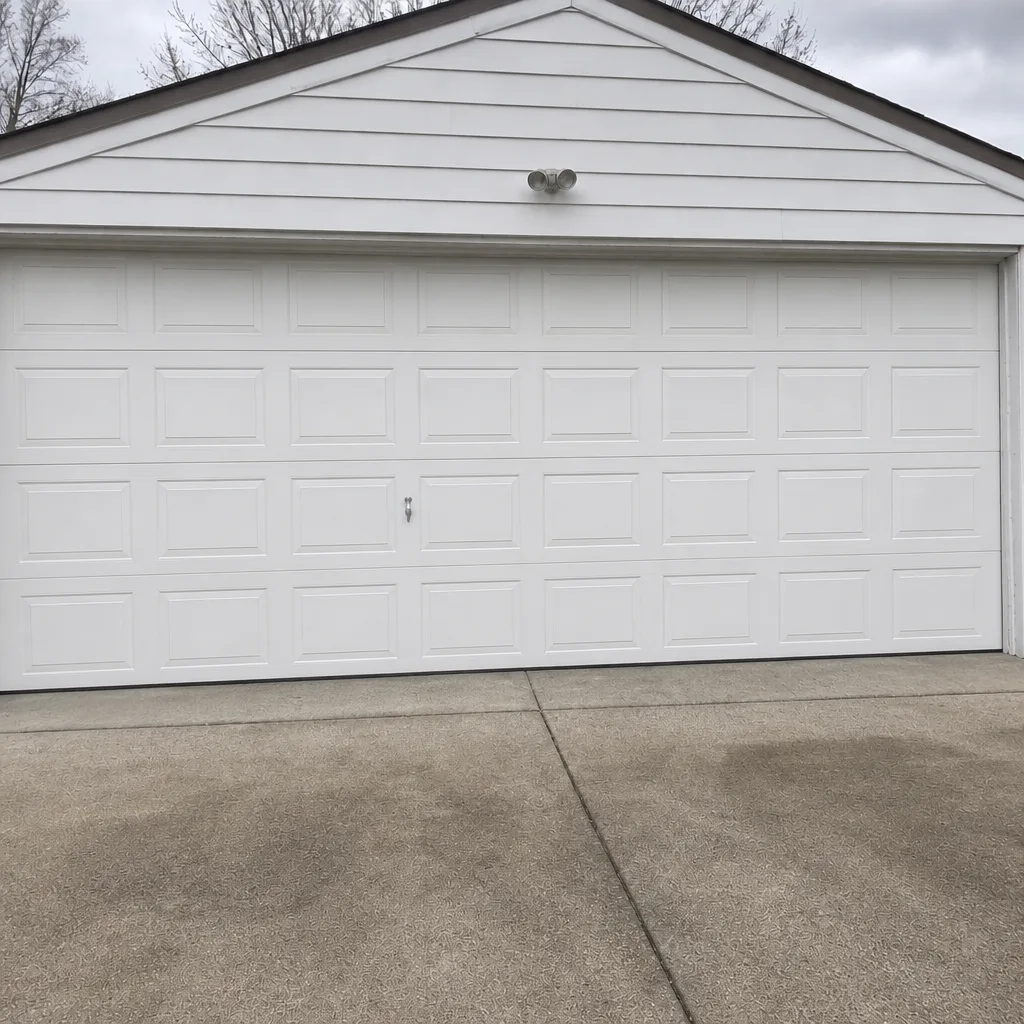 After